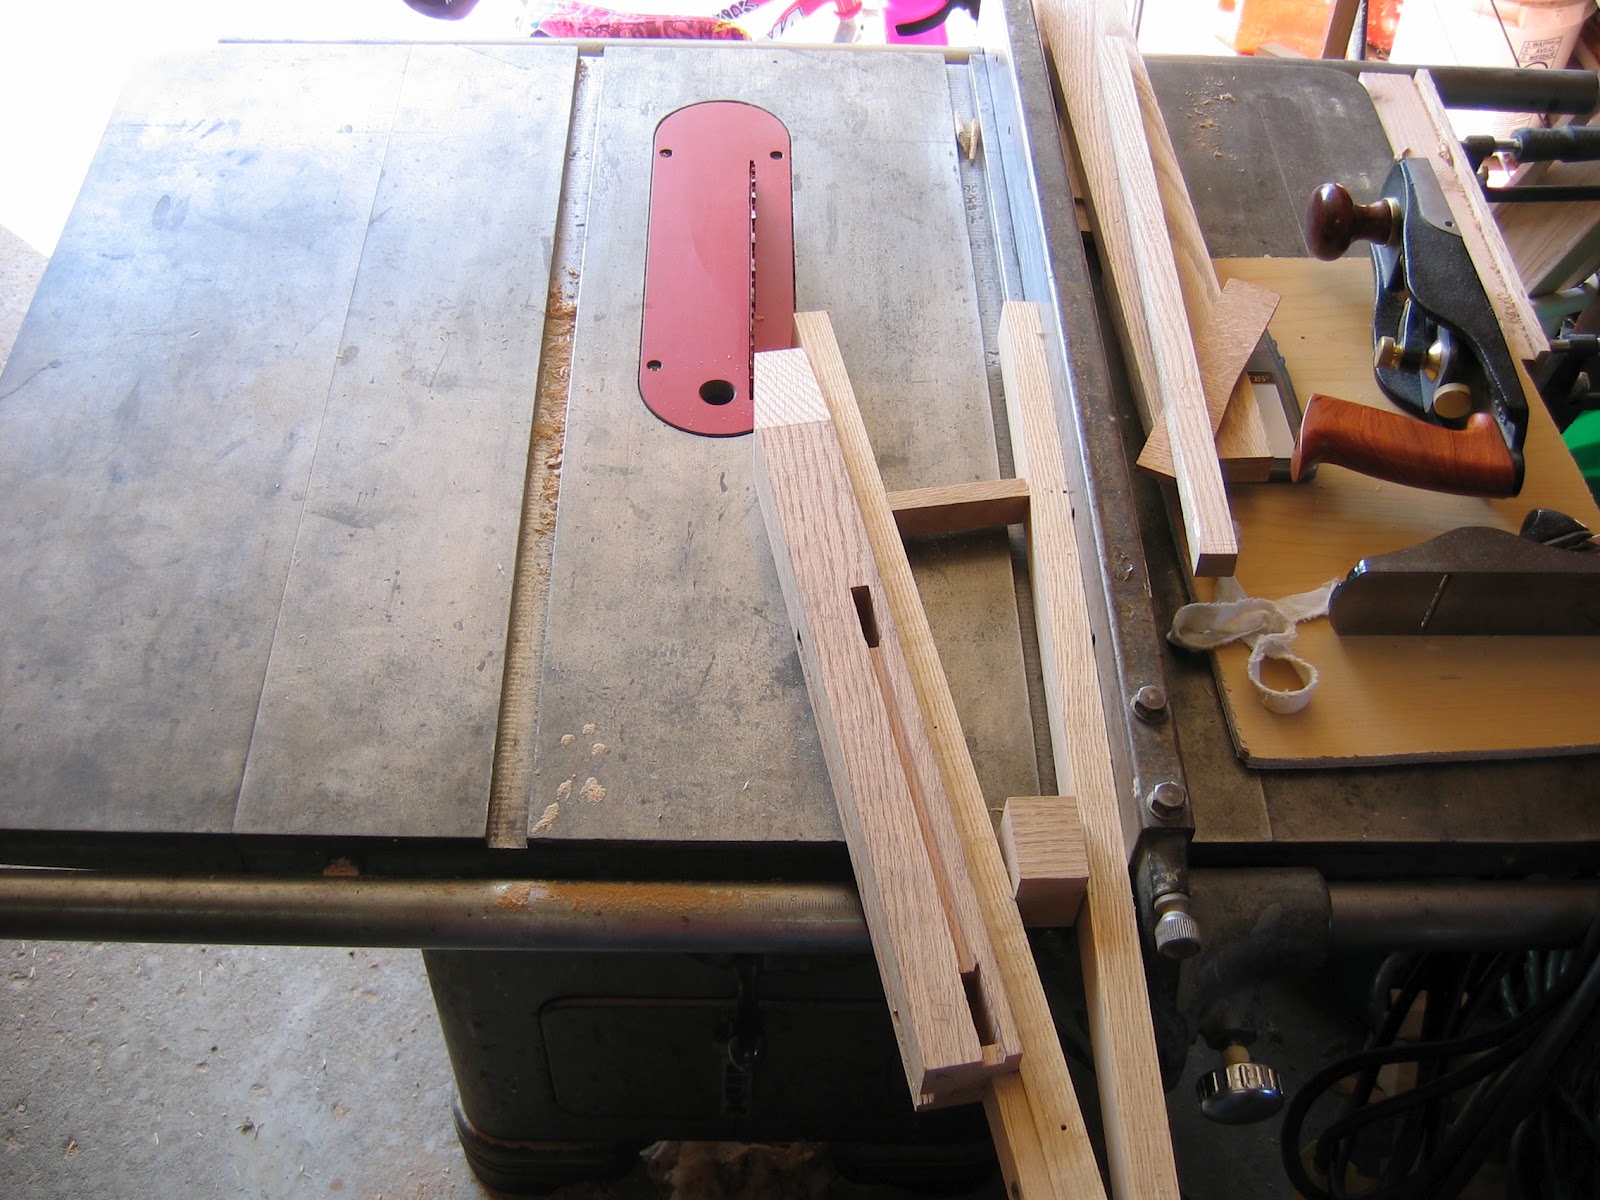
After dry-fitting the bench frame the next step was to break it back down and bevel the inside faces of the lower legs to match the coffee table I built a few years ago. I re-used the simple jig that I made last time as shown below.
After cutting all of the bevels I used the smoothing plane to clean up the sawn surfaces.

Next I mounted the dado stack in the table saw to cut a rabbet on the bottom edge of each lower rail to house the ship lapped boards that will make up the bottom for the storage area.

I also pre-finished the panels with 4 or 5 coats of wipe-on poly. I'm pretty happy with the natural color and texture of the finish.

The next step was to smooth plane all surfaces of each component to prep them for finish. Since I pre-finished the panels I decided to finish the rest of the components prior to glue-up. In order to keep finish off of the glue surfaces I taped off the tenons and wedged pieces of foam caulk backer rod into the mortises.

All the parts were pre-finished with 3 coats of wipe-on poly and then lightly sanded prior to glue-up. I plan to apply one final coat of finish once everything is assembled.

Above you can see the end assemblies after being finished and glued up. I'm a big fan of the overall look of all this straight grained rift and quartersawn oak.

After smooth planing and pre-finishing the long rails I glued up the full bench frame.

So far I'm pretty excited with how this is turning out. Next on the to-do list is to glue up the seat/lid and then plane it smooth as well as cutting all of the boards to make the ship lap bottom.