Here is a view of Lake Tahoe from an overlook on the way to the restaurant.

Back to the coffee table...
The next challenge was to glue up a bunch of the oak boards into a panel for the bottom shelf. As I planed down the boards and sorted them to find the nicer ones I ran into some issues with the planer tearing up the surface a bit around the swirly grain. I tried wetting the boards a bit and running them through at a slight angle but neither helped very much. My guess is that this a sign that my planer knives aren't as sharp as I thought they were and should probably be swapped out. Since that is a large task I decided to just use the jointer to clean up the "show" side of each board and then just plane down the back side to the correct thickness. After selecting all the boards for the shelf I ripped all the edges parallel and laid them out to look as nice as possible.
 I then used a chalk triangle to mark the location of each board in the panel. Next I ran all the edges over the jointer to get a good flat edge for the glue joints. In case the jointer fence wasn't set perfectly to 90 degrees I made sure to alternate the orientation of each board so that if the angle was off a bit each board would be off by an equal and opposite amount and still fit together perfectly.
With the edges prepped I laid out the boards on the pipe clamps and made sure everything fit together and lined up correctly. I then applied glue to each joint and snugged up the pipe clamps being very careful to keep all the boards even and coplaner.
 In order to minimize any bowing from the pipe clamps I alternated them top and bottom. I then removed the beads of glue squeeze-out from the top of the shelf with a damp rag and then everything sit overnight. The next day I removed the clamps and sanded everything down with the random orbit sander. In order to smooth out the slight ridges between boards I started with 40 grit and then worked up through 80 and 120 which left a nice smooth flat panel.
Since this piece is too big to cut to length on the table saw I used the circular saw and a straight edge to cut it down to length.
 The masking tape helped prevent splintering and that along with the 140 tooth plywood blade actually left a pretty clean cut. The little bit of burning should sand off easily.
I was curious how strong the glue joints were so I took on of the end cutoffs and broke it and sure enough the wood failed with the glue joint intact so the glue joint is actually stronger than the wood itself.
 Next I ripped the panel down to width on the table saw. I cut it a bit narrower than the distance between the legs so that the panel has some room to move with changes in humidity. Above you can see how the panel fits into the groove in the lower frame end. Then I decided to dry fit the frame together with the panel to make sure the length was correct.
 It was really cool to finally see the finished frame together with the shelf in place.
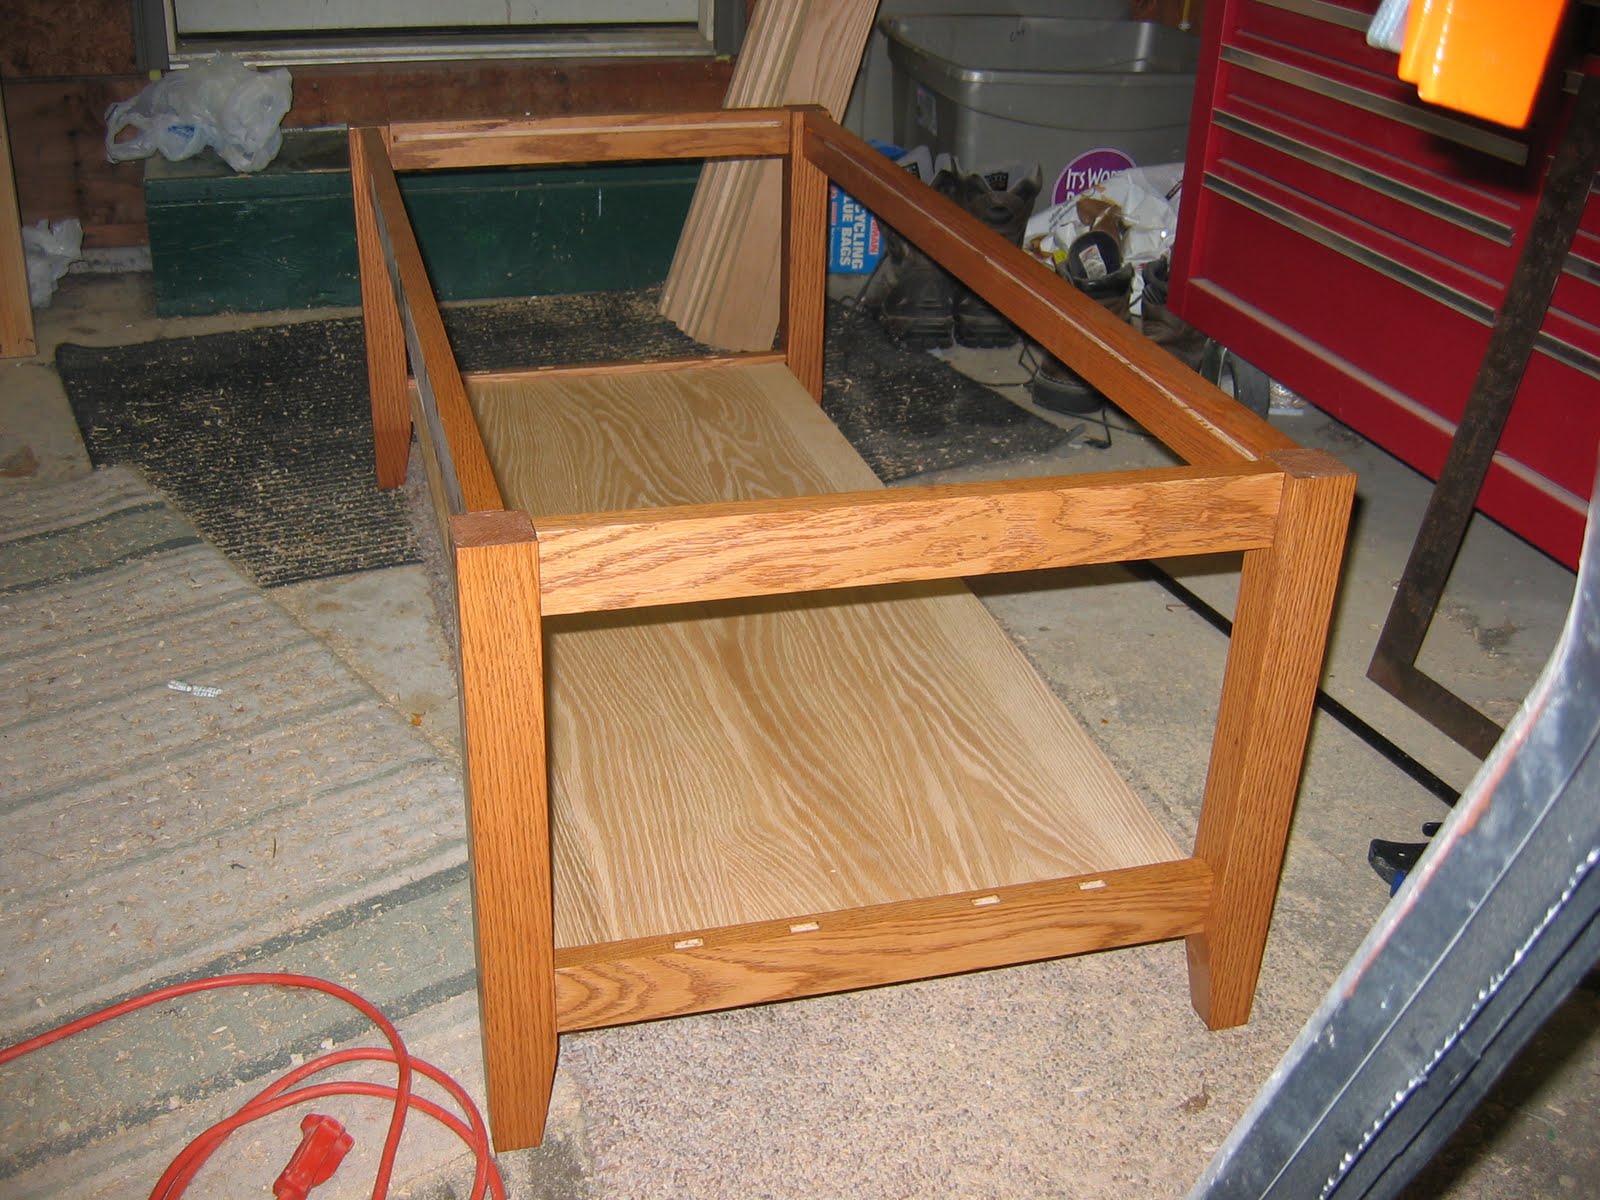 After seeing this I'm pretty excited to get this wrapped up in the next week or two so hopefully I will be posting pictures of the completed table soon.
No comments:
Post a Comment