Since the last update back in June progress on my Roubo workbench has been slow for a variety of reasons. Summer means that it is hot in the shop and the weekends are packed with other planned activities, I've also been very busy at work, and we've been focused on preparations for the new addition to the family (details on a couple of those projects should follow soon). This past weekend I finally had some time to shift focus back to the bench and wrap up a the last of the small details and I am now calling it complete.
As I noted in the last post I was considering adding a shelf between the stretchers to add some storage. I quickly realized that was necessary and found some time over the Independence Day holiday to make it happen. I started by nailing on some battens to each stretcher to support the boards that would make up the shelf.
I then took some of the leftover Southern Yellow Pine scraps, resawed them in half, planed them smooth, and cut them to fit. I considered cutting rabbets on each board to fit them together in ship-lap fashion but ended up just setting them in place butted edge to edge which makes it very simple to lift out one or two boards if needed for clamping or to provide an escape hatch for trapped shavings when cleaning out the shelf area. I also drilled a finger hole in one of the middle boards to make it even easier to pull a board or two.

The shelf provides a great place to stow bench planes and all the other odds and ends (winding sticks, mallet, wax, bench brush, chalk, squares, etc.) that typically clutter up the benchtop. With the shelf complete the bench basically sat, or was used, in this configuration for the rest of the summer.

Last weekend (early October) I finally took a few minutes to wrap up the last few details. I started by adding a few more holdfast holes following the basic configuration recommended by Chris Schwarz here. As before I drilled them with brace and 3/4" auger bit and then used a trim router to add a chamfer to the top and bottom.

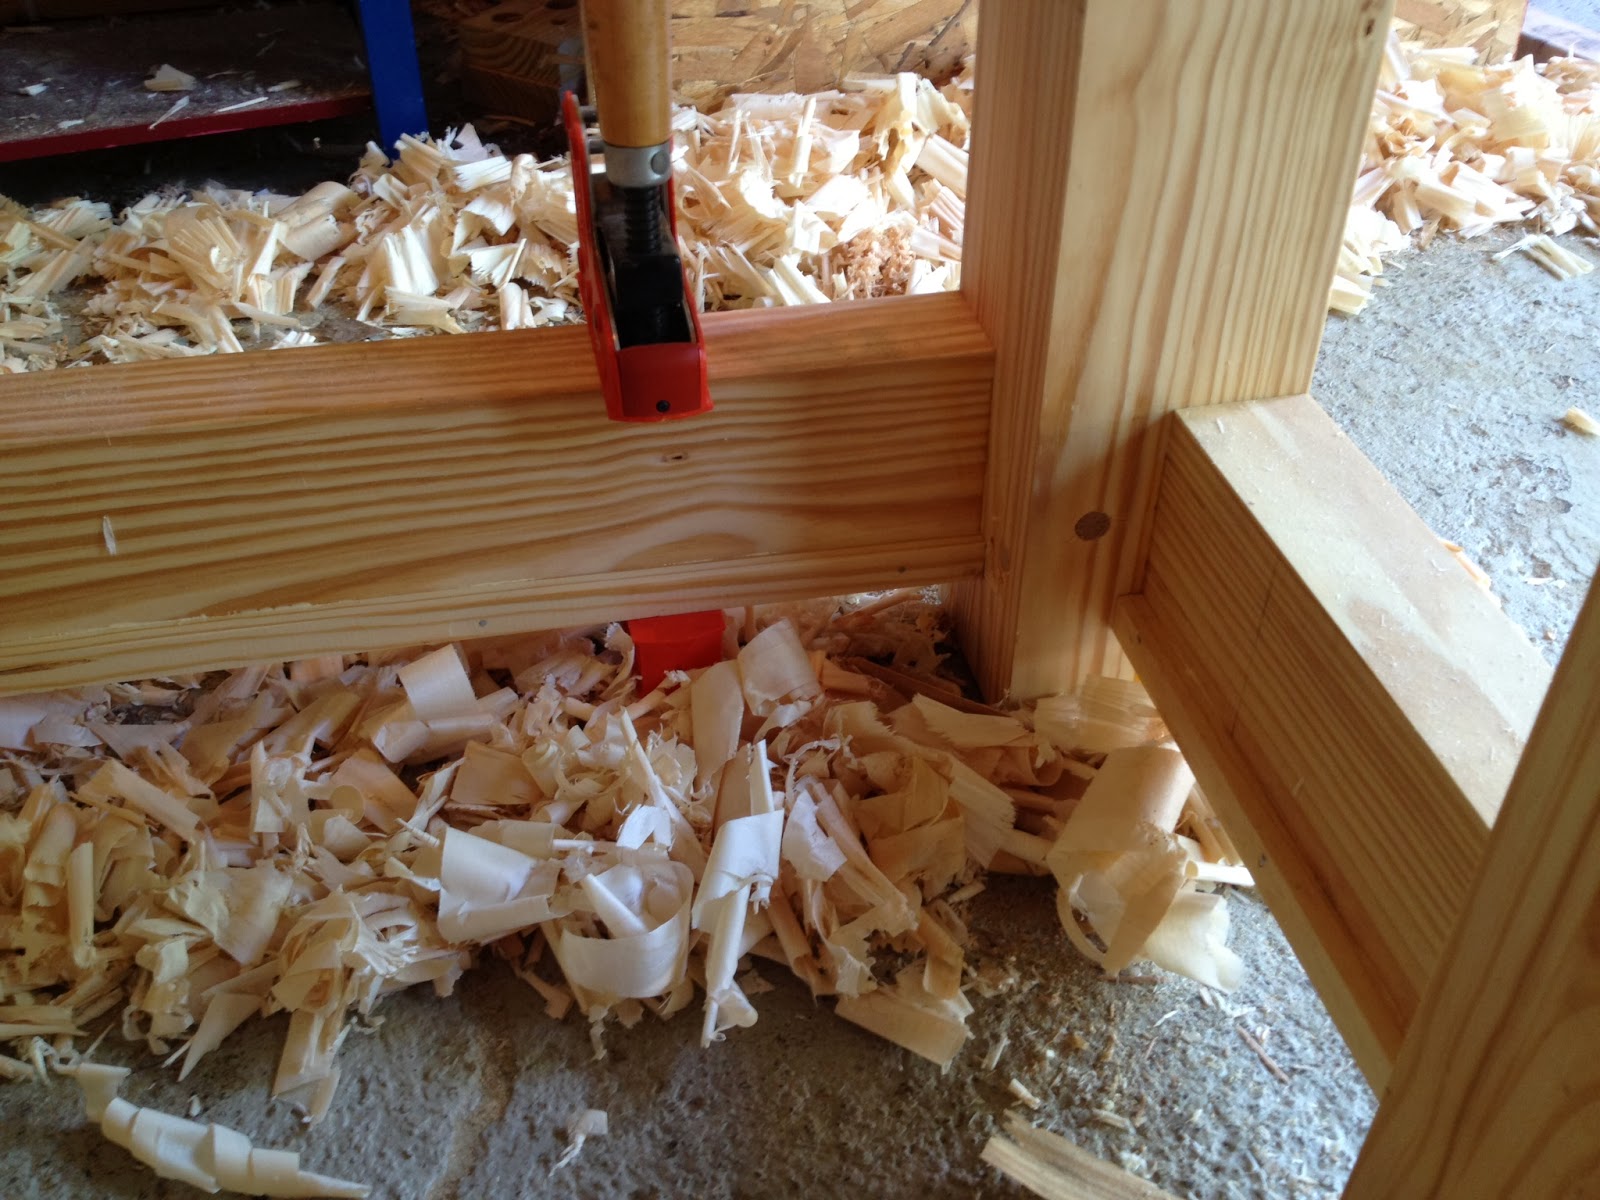
I then spent some time finishing up the sliding deadman, smoothing the curved sides with the spokeshave and card scraper and smooth planing the flat surfaces.

Once smooth I applied two coats of the same boiled linseed oil, polyurethane, and mineral spirits mixture that I used on the vise chops. I also took a block of paraffin wax and rubbed down the bottom rail to help ensure that the sliding deadman slides easily.

The last detail was to finish up the handle for the leg vise pin, starting with cutting it down to a more reasonable length. Next I cut a groove around the circumference to set the depth of the "neck" and I then chiseled into that groove from both sides to create something resembling a valley. I also took this same approach to round off the end a bit.

After rough shaping with the chisel I switched over to a rasp to smooth and even things out a bit. My generic hardware store rasp still left a pretty rough surface so I finished smoothing things out by chucking the steel pin into the drill press and hitting it with some 80 grit sandpaper. This was my first attempt at anything like this and while it is a bit clunky it will serve it's job just fine and looks something like an actual tool handle. I then applied two coats of the same 3 part finish used on the rest of the oak bench parts.

I was originally considering applying a coat or two of finish to the main bench assembly but at this point have decided not to. The bench is a tool, not a piece of furniture, and after using it this summer I have yet to come across a reason to spend the time to apply finish.
Without further ado, here are a few pictures of the completed Roubo style workbench.


In the end it was completely worth it. This bench has done everything I have asked of it to date and has made working wood with hand tools infinitely more enjoyable and productive.
Fantastic write up and beautiful design. Very inspiring.
ReplyDelete