I had cross cut and partially milled the stock along with the first build so I had a nice head start on the project.

The design is basically a copy of the first one but I simplified the joinery to use pocket screws instead of the much more labor intensive wedged through tenons that I used the first time around. One of the biggest reasons I enjoy woodworking is that there is always something new to learn or try and this change was a good way to keep things interesting while also speeding things up. Each shelf still has a dado and short tenon to get and keep everything aligned but the pocket hole screws do the heavy lifting.


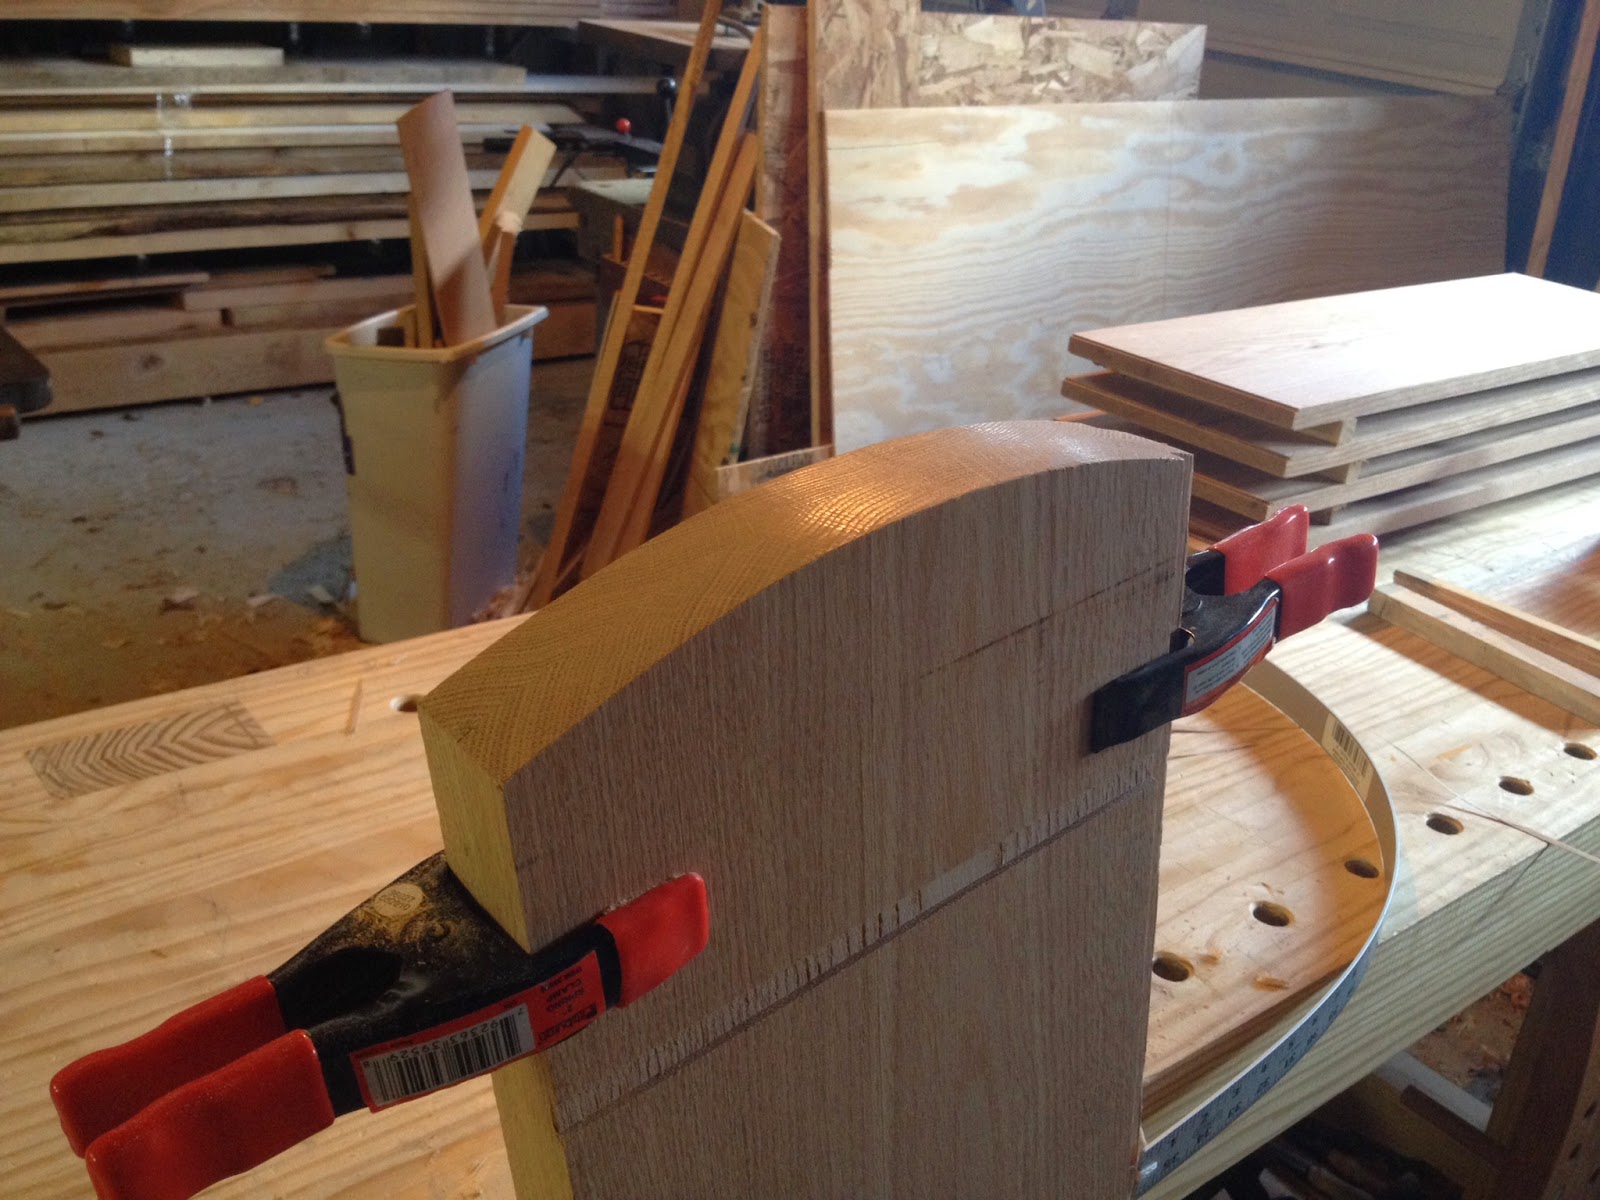
Just like last time I used a flexible ruler and some string to make a drawing bow to define the curve at the top of each shelf side. I roughed out the curves at the bandsaw and then clamped them together in the leg vice to fair the curve with the spokeshave.

I'm still pleasantly surprised at how smooth of a surface you can get with a sharp tool, even when working end grain oak.
For my friends that like to give me a hard time about being a hand tool snob here is a fun little picture. You will see a modern Kreg pocket hole jig fastened to my 17th century Roubo style workbench with an iron holdfast. I can also easily say that my Milwaukee cordless drill was much better suited to this task than the brace I typically prefer for boring holes in wood. Despite the varied ages of these technologies they all played well together and got the job done.

All of the stock was prepped for finish before assembly with the smooth plane, a card scraper for a few trouble spots, and then a quick hand sanding at 150 grit to even everything out. Lex jumped in to help sand a few of the shelves so I could take a few pictures. Why she was wearing a winter hat in June still puzzles me. Maybe it was a bit chilling that morning or maybe it is just because she is 8 years old and likes to do things her own way :).

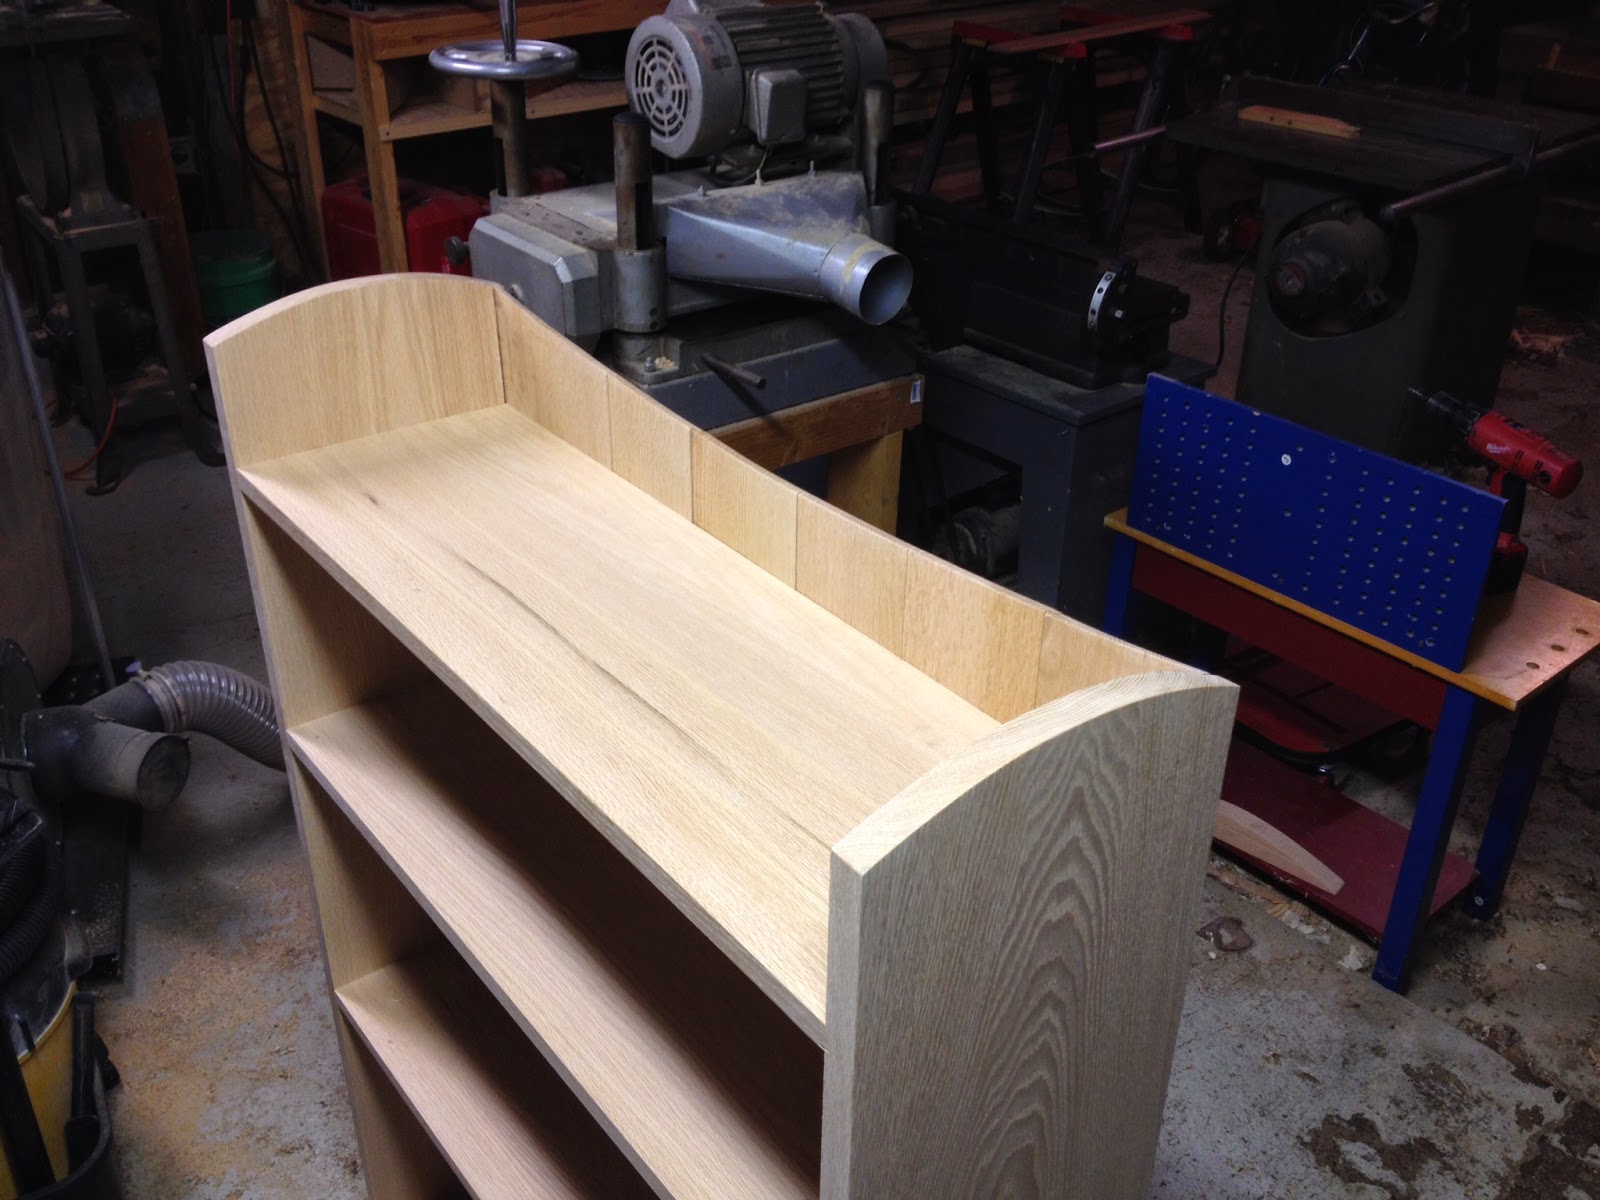
After tweaking the final fit of each shelf to dado joint to get a nice tight fit at the shoulders as well as the bottom of the dado I moved on to assembly. The pocket screws made things pretty easy, I added a bit of glue and screwed in the shelves to the first side one at a time.

Once all the shelves were attached to the first side I glued and screwed that assembly to the opposite shelf side.

Consistent with its predecessor this shelf's back is made up of thin oak boards that I resawed from some 8/4 stock. After planing out the saw marks the back boards ended up about 1/4" thick.

Each board is mated to its neighbors with ship lap joints that I cut with a dado stack on the table saw. I screwed the back boards to the shelf, marked the curve with the drawing bow, removed the boards, roughed cut each one at the bandsaw, re-assembled the back, and then smoothed everything out with the spokeshave.
Ever since I started working on her bookshelf Lex has been pointing out different wood finishes that she likes every time we wander through the paint aisle of Menards, Fleet Farm, or Woodcraft. Her tastes are quite random but over time I've noticed that more often than not she points out something resembling an oil finish on fresh cherry...a bit of color tending towards a red tint, not too dark, with the grain highlighted slightly. Assuming her tastes don't change radically (probably a bad assumption) I'll likely build her next piece out of Cherry but I tried to match the general color tone while working with the oak for this bookshelf.
I settled on an oil/varnish blend for the finish and ended up tinting it with a "Pecan" oil based stain (the same stuff I used on my oak coffee table as well as Lex's loft bed). I haven't see this mix mentioned before but I figured the oil based stain is likely composed mostly of mineral spirits or a similar thinner with just a bit of binder along with the dye and pigment components. Based on this assumption I mixed the finish with equal parts stain, boiled linseed oil, and oil based polyurethane. I applied the finish by flooding the surfaces with a wet rag, letting it stand for 10 minutes or so, and then wiping it off with a clean rag. Because the oak has open pores that tend to absorb finish and then exude it back out later I came back a few times afterwards and buffed the surfaces with a clean cloth to get rid of any droplets that rose back to the surface. I put on two coats of the tinted oil/varnish blend and then one final top coat with mineral spirits instead of the stain. The intent of the un-tinted final coat was to cover and seal in the stain to ensure there is no chance it can rub off on anything later down the road.


While this finish blend may not be common I'm very happy with it so far. The stain added a slightly darker tone with just a hint of red and brown and it highlighted the grain of the oak just a touch without overdoing the contrast. This is the first large project I've finished with an oil/varnish blend and I'm also very happy with the look and feel of the finish. It doesn't have the slight plastic look of the wipe-on poly I've been using for most projects to date. It will be interesting to see how this shelf stands up to abuse over the years compared to Eli's which has the poly finish. If the mass produced termite barf shelf that this one is replacing in Lex's room served for a generation this one should have a good shot at making it a few more than that.
No comments:
Post a Comment