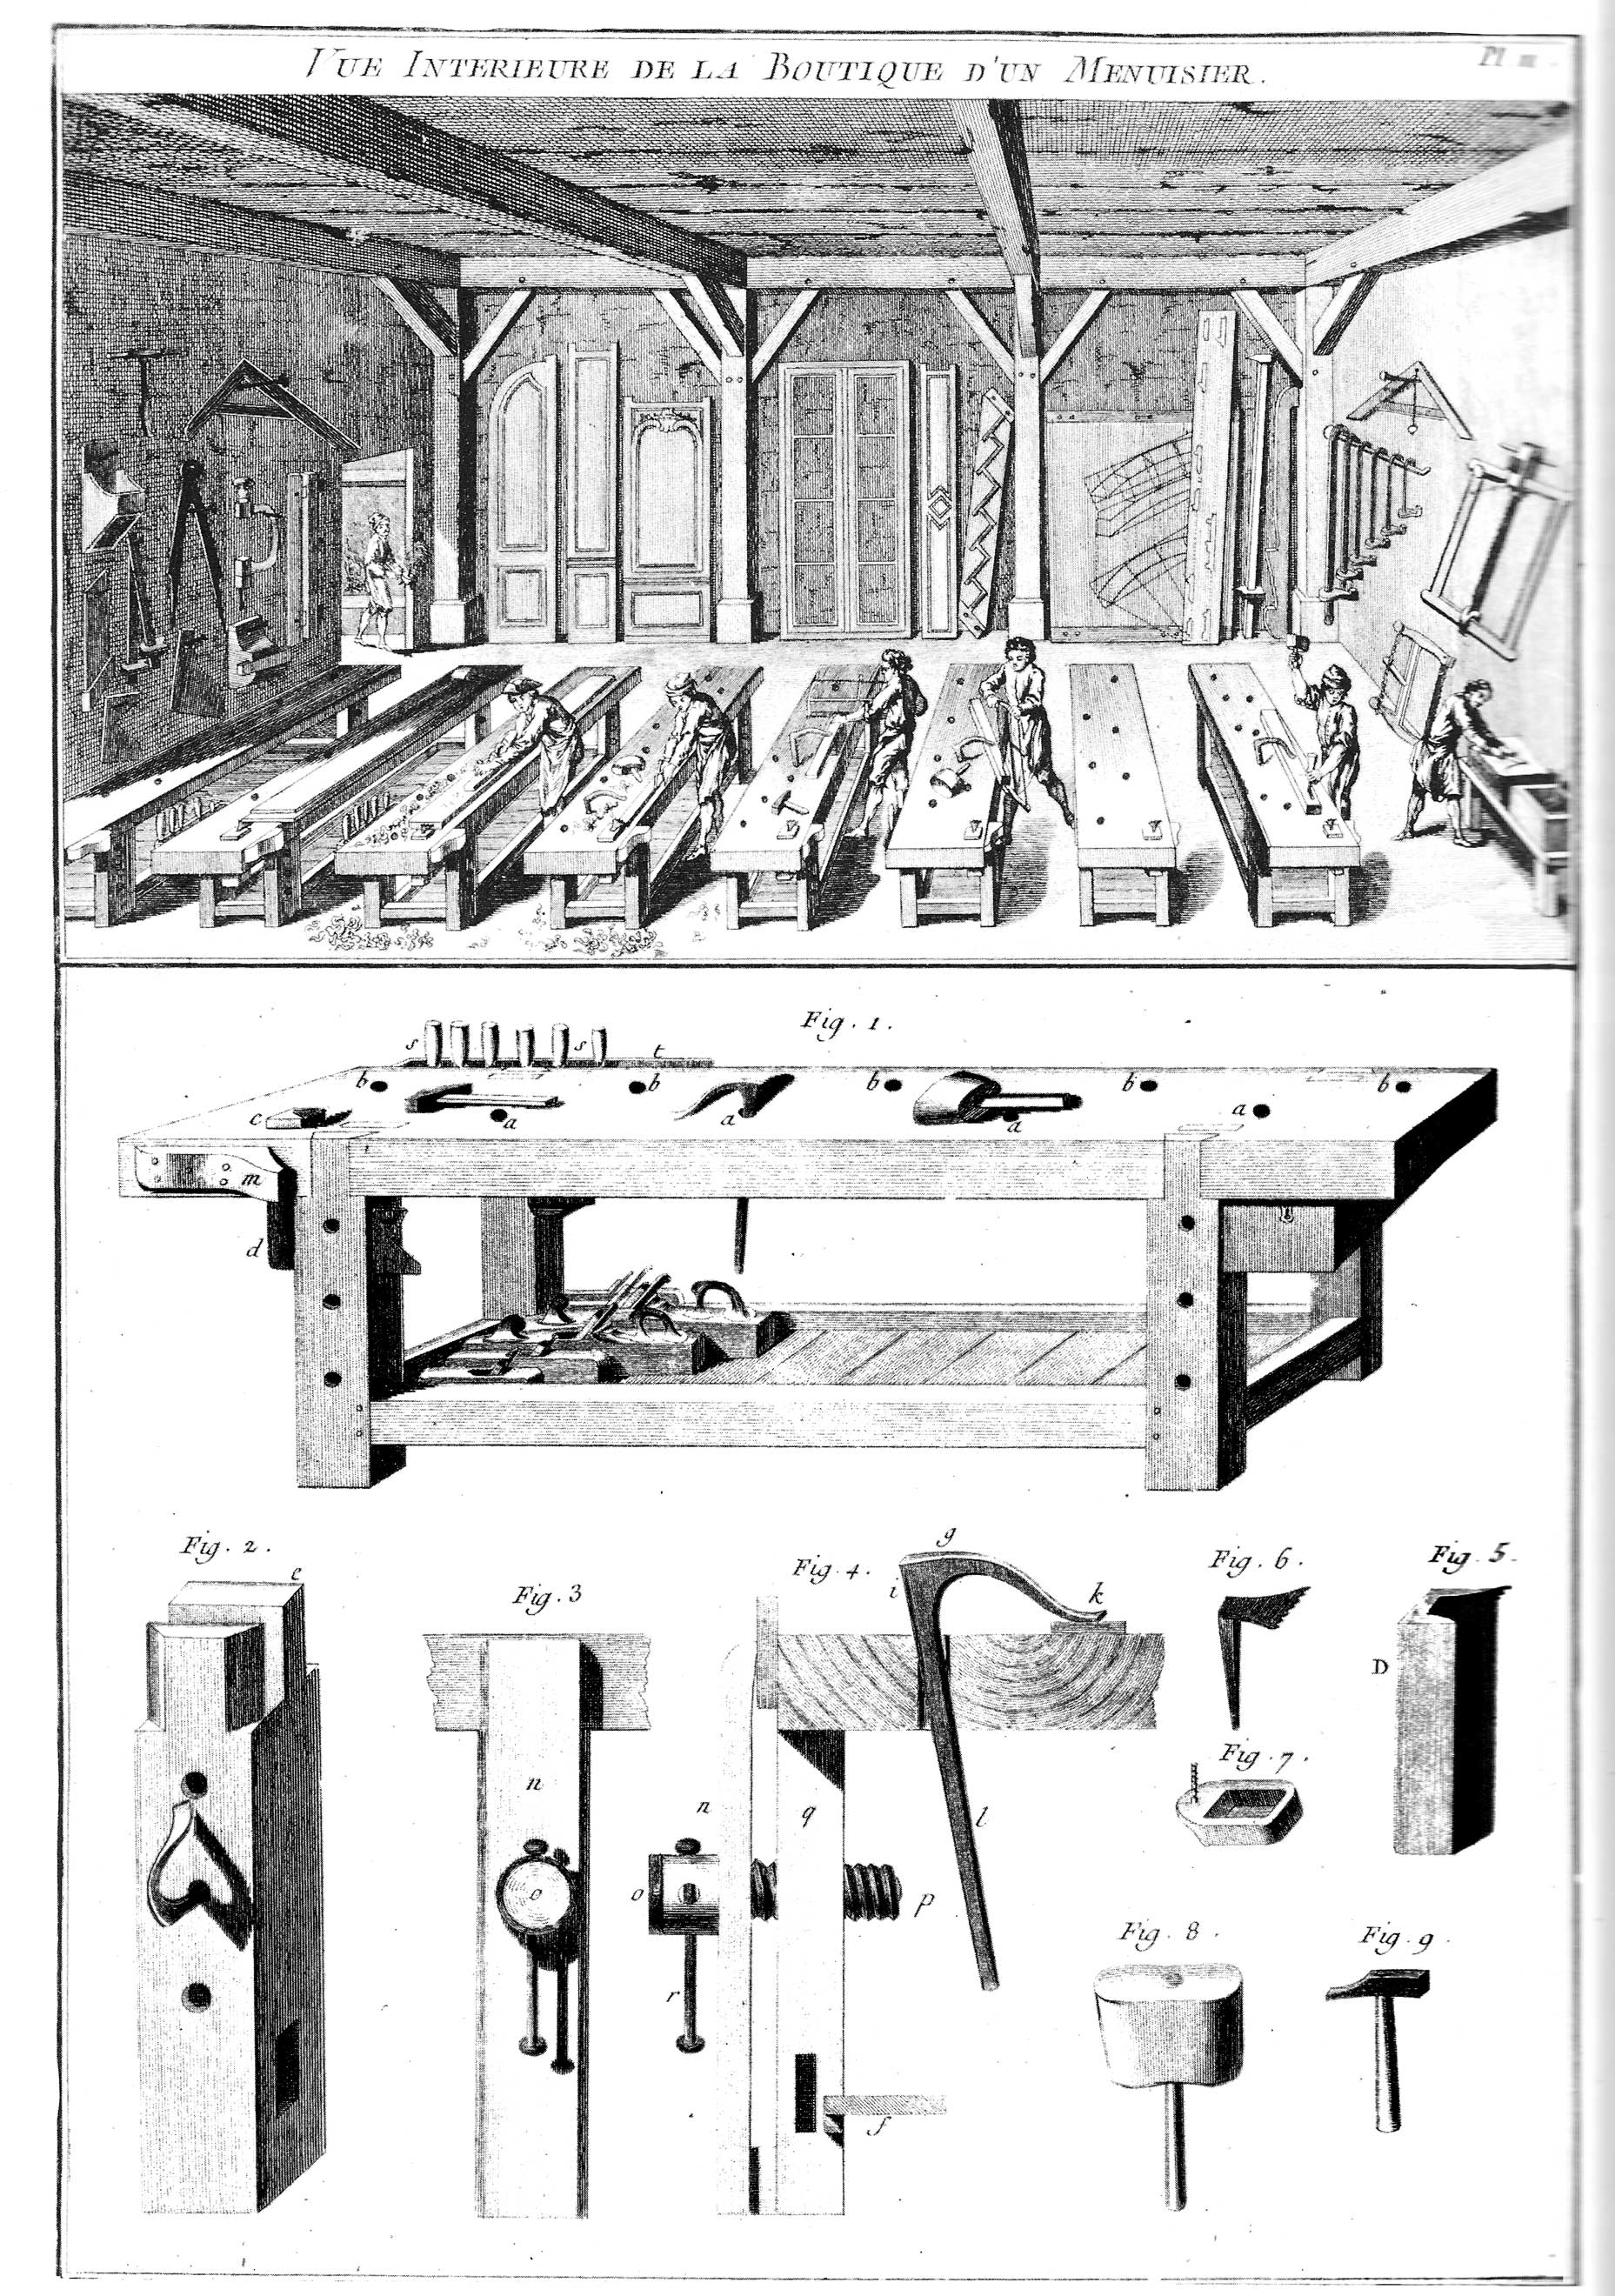
Below you can see Roubo's plate 11 showing the basic bench design (courtesy of Lost Art Press).
Below is a sketchup model of my interpretation customized to fit the space and vise hardware I have available.

With the basic design defined the next question is what to make it out of. I have a stash of 6/4 soft maple that I intended to use for a workbench however when I started running a few boards through the planer to get an idea what they actually looked like under the roughsawn surface that plan took a detour. The majority of the soft maple boards showed sections of decent curly figure and the rest had some colorful spalted patterns. Nothing overly gorgeous but too nice to waste on a workbench. I needed a cheap alternative. A lot of folks (Schwarz included) recommend southern yellow pine (SYP) as an economical wood for a workbench. It is cheap, strong, and dense. A quick search on Menards' website showed that they could special order 16' #1 common 2x12s for just over 65 cents a board foot. Sold.


A friend had ordered some 8' SYP 2x10's from Menards for his shop build last year and received select grade rather than the #1 common specified. I was hoping for a similar bonus upgrade but no dice.

In general the boards were straight and pretty decent quality. There are definitely some knots but since most of this wood will be laminated together to form either the 4" thick slab top or the massive 5" thick legs it should be pretty easy to bury the knots and use the nicer pieces on the show surfaces.

That's a lot of wood. I estimated what I needed conservatively and then ordered one whole 2x12 extra just in case one of them had issues or was damaged. They all ended up being usable so it looks like I will use the best pieces from each board and have a bit of scrap left over.
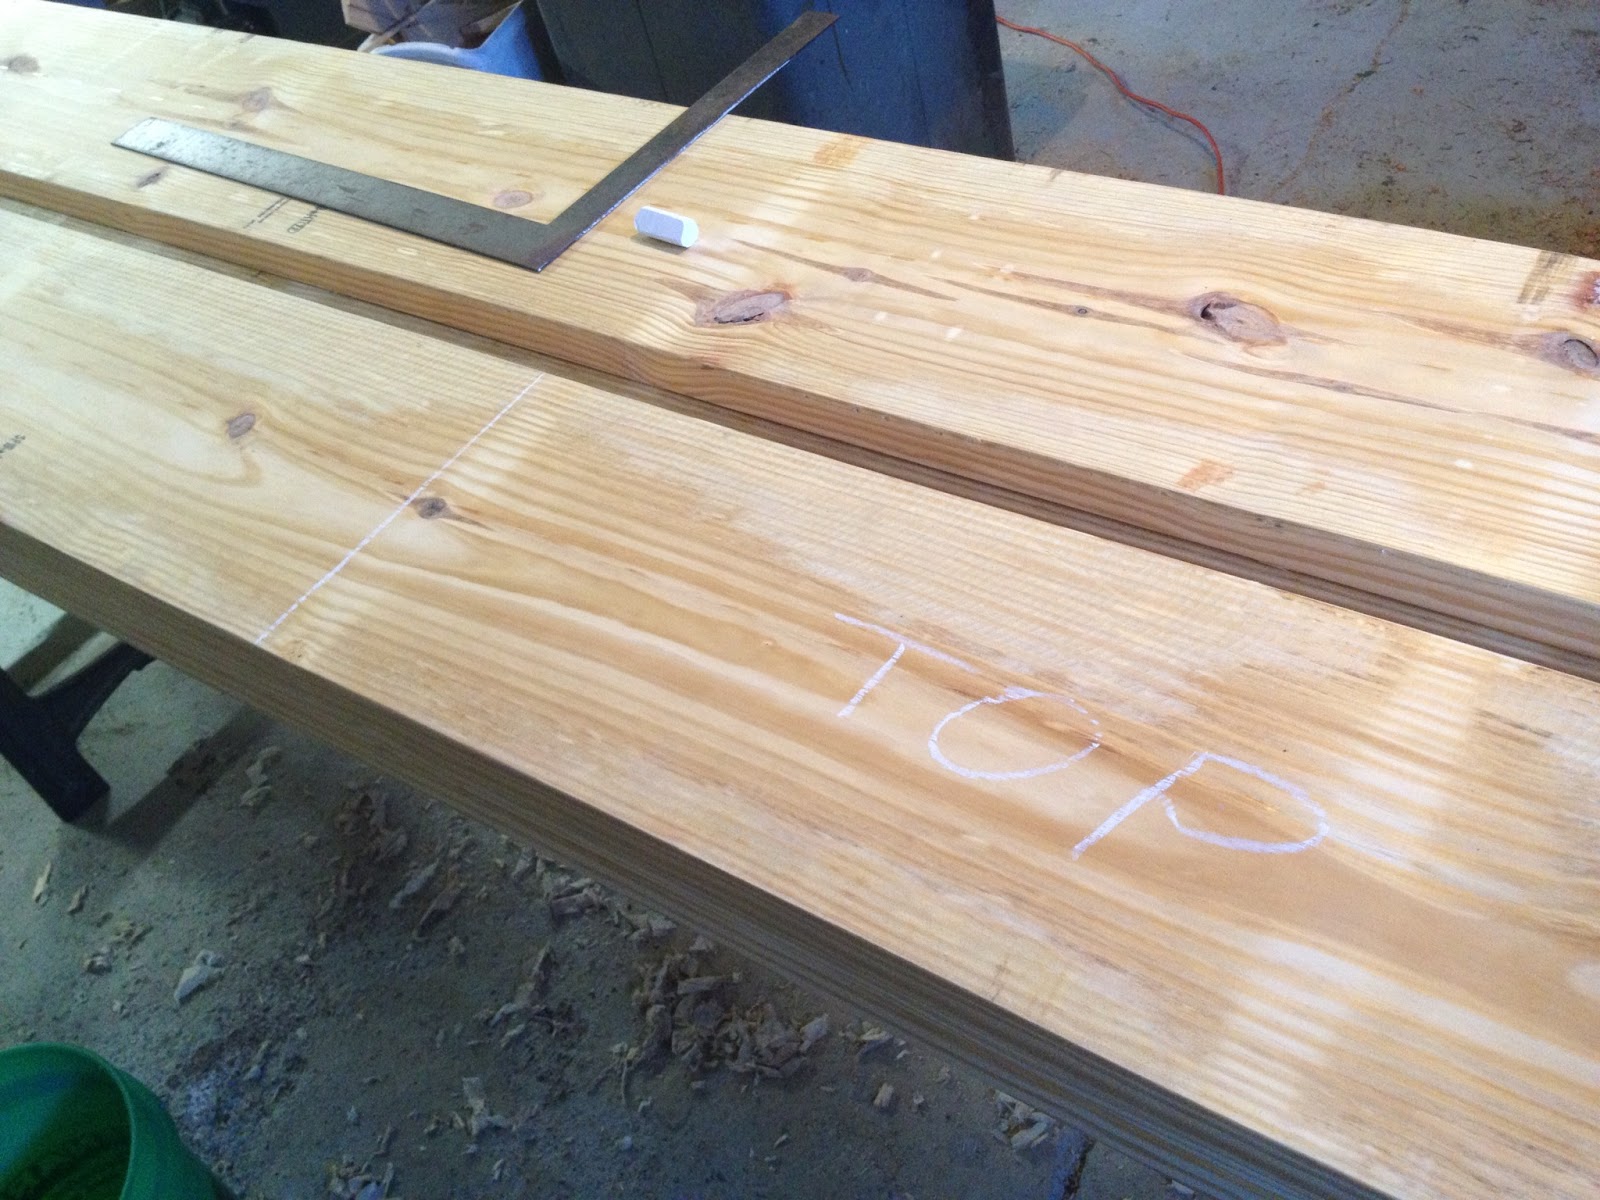

I'm proud to say that I used a handsaw for all of the cross cutting. The ripping on the other hand... that is a different story.

I setup a pair of saw horses behind the table saw with a few pieces of 2x12 that had been cut down to roughly 8' to serve as a crude outfeed table. I then proceeded to rip all of the lumber in half on the table saw. Anyone who has ever ripped dimensional lumber on a table saw knows that this is a bit dangerous due to the fact that the lumber is rarely straight and commonly "moves" as internal stressed in the lumber are relieved while cutting. Both of these factors can easily cause the blade to catch the board and kick it back violently. I wouldn't recommend doing it this way in the future but it worked and I survived. The saw started to bind up a few times as the board warped and closed the kerf behind the blade at which point I would shut down the saw and rip a new kerf from the beginning.

After a few hours all of the pieces were roughed out and stacked neatly to allow airflow around each board so that they will slowly dry out to match the average humidity in the garage. The pieces on the top of the stack above will become the legs. The pieces below will be the long stretchers between the legs at the front and back of the bench. The short pieces in between are the short stretchers along with a few spares/scraps.

The entire stack on the left will become the 7 foot long 4+ inch thick benchtop.
Since it is back to normally January weather and once again too cold to do much in the unheated shop, this project will likely go on hold while the lumber dries out and I wait for some warmer temperatures to start milling the lumber to final size and gluing up the basic building blocks.
Stay tuned.
No comments:
Post a Comment