
In addition to the design refinements I have also been able to take advantage of the brief warm spell earlier this week to mill and glue up two sections of the bench top.
I picked out a few boards from the stack set aside for the top and cut them down to just a bit over 7' in length. Next the boards were run across the jointer to flatten one face. I used chalk to mark the high spots on the board below. Like this one many of them had a fairly decent twist.

Below is the same board after the face was jointed. It was hard to get boards this size completely flat on my smallish jointer but removing the twist was the important part. A slight bow can be overcome when gluing the boards together.

With one face flat I moved on to the planer to bring the opposite side parallel with the flattened face. Below you can see the 4 boards flattened and planed to an even thickness.

Here is a picture of the dust collector after milling the second set of 4 boards. That is a lot of shavings.

With the faces milled the next step was to straighten one edge on the jointer and then run the boards through the table saw with the straightened edge against the fence. The result is a set of four boards with the same width. In order to make things a bit easier when planing these boards as a set going forward I marked the grain direction on each board and arranged them so that they were all running the same direction.

I then rearranged the boards so that any remaining bow was outward from the center of the stack.


These boards were pretty long to run through my planer without any extra infeed/outfeed support so I ended up with a bit of "snipe" (ridges and/or divots) at the ends of the boards.
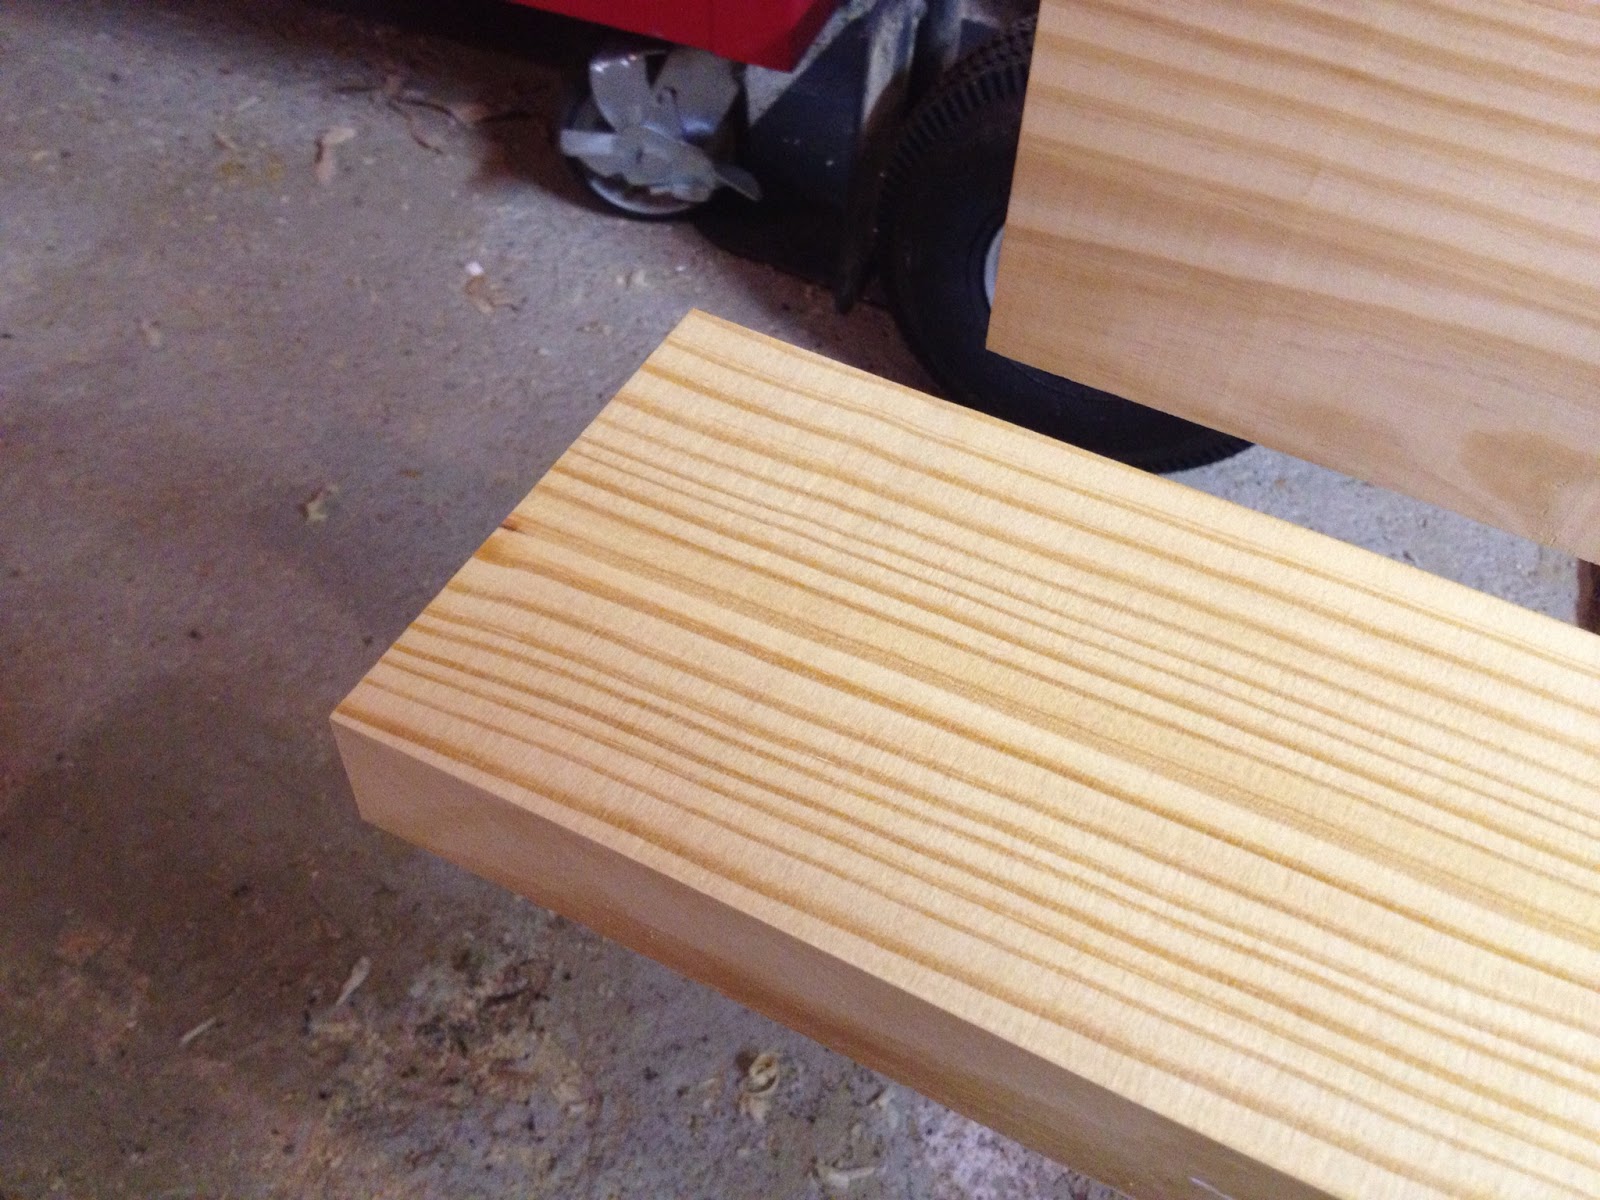
In order to minimize the chance of any gaps when laminating them I smoothed out the ends with just a few strokes with a block plane.

I've also heard of people having issues with southern yellow pine separating at the glue joints. The pine is really dense and is fairly resinous which slows down the glue penetration. The glue manufacturer recommends wiping down the surface with acetone to remove any pitch and allow better adhesion.

With the boards prepped I moved inside and setup half the clamps on the worktable. I laid them out so that I could apply the glue all at once.

I dumped on the glue and used a stick to spread it evenly across the three boards. On the first set I used way too much glue and it ended up all over. Oh well, better too much than not enough.

With the glue spread I flipped the boards up and tightened up the clamps. I started in the middle and worked my way outwards to each end. I also used one more clamp to adjust the boards vertically to get them as parallel as possible while tightening the other clamps.

Due to the density and resin content mentioned above I left the assemblies in clamps overnight to ensure the glue had enough time to penetrate and fully cure.

I have two of these assemblies done so far. I need to make one more just like this and then figure out how I am going to do the outer laminations with spacers to create the mortises for the legs. So far I figure I have about 10 hours into this project plus many more fooling with the design on the computer.
No comments:
Post a Comment